
©2010-2011 Jeff Nitschke | Created by Jeff Nitschke


1.) First download & install WowSlider
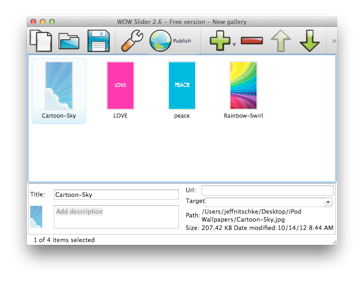
2.) Launch WowSlider & Add your images to WowSlider
3.) Click on Publish
4.) Click on the General tab & name your slider

5.) Click on the Images tab.
Here you can change the template (how it looks), image size, & the different transitions (how the images move)

Size options:

The different transitions (how the images move):

6.) Click on the Publish tab.
Select publish to folder: If you click on the Browse button you can select where you save the WowSlider. I would suggest selecting the desktop so, it is easy to find. Also, select new folder.


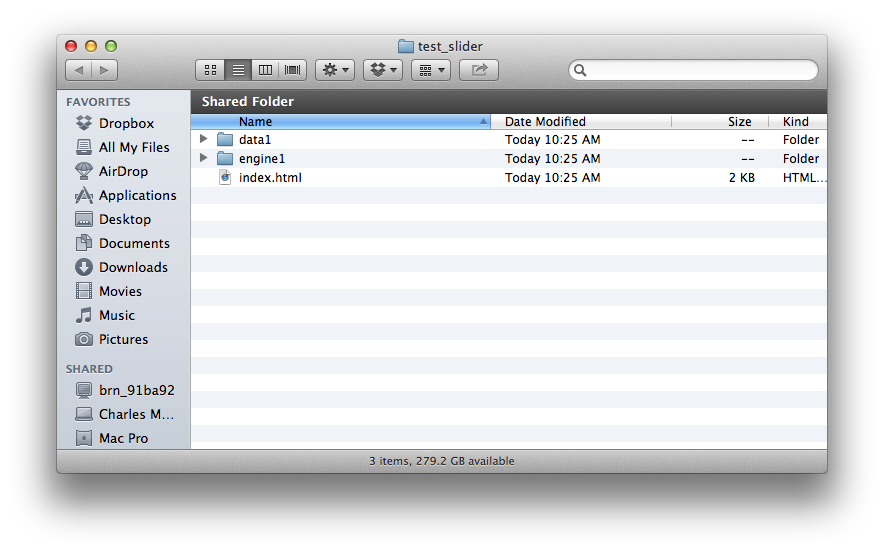
7.) Upload the Folder to your web host with an FTP Program like CyberDuck.

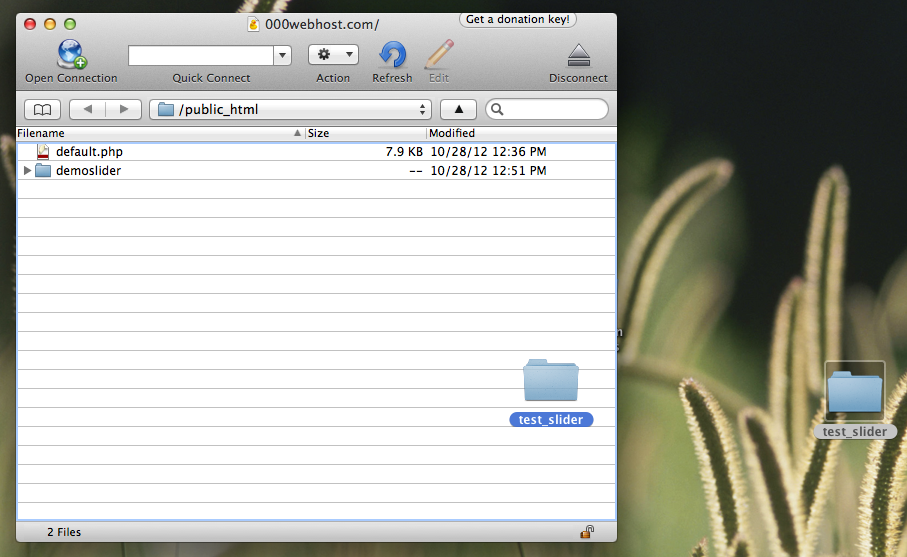
8.) Visit the the uploaded folder. Here is my Sample.
9.) From here you will need to view the page source to get the HTML code:
in Safari you can right click or option click for a drop down menu. ( if running safari 6 you need to turn on the develop menu )

Select the text & paste the code into a new text edit document (makes editing the code easier):
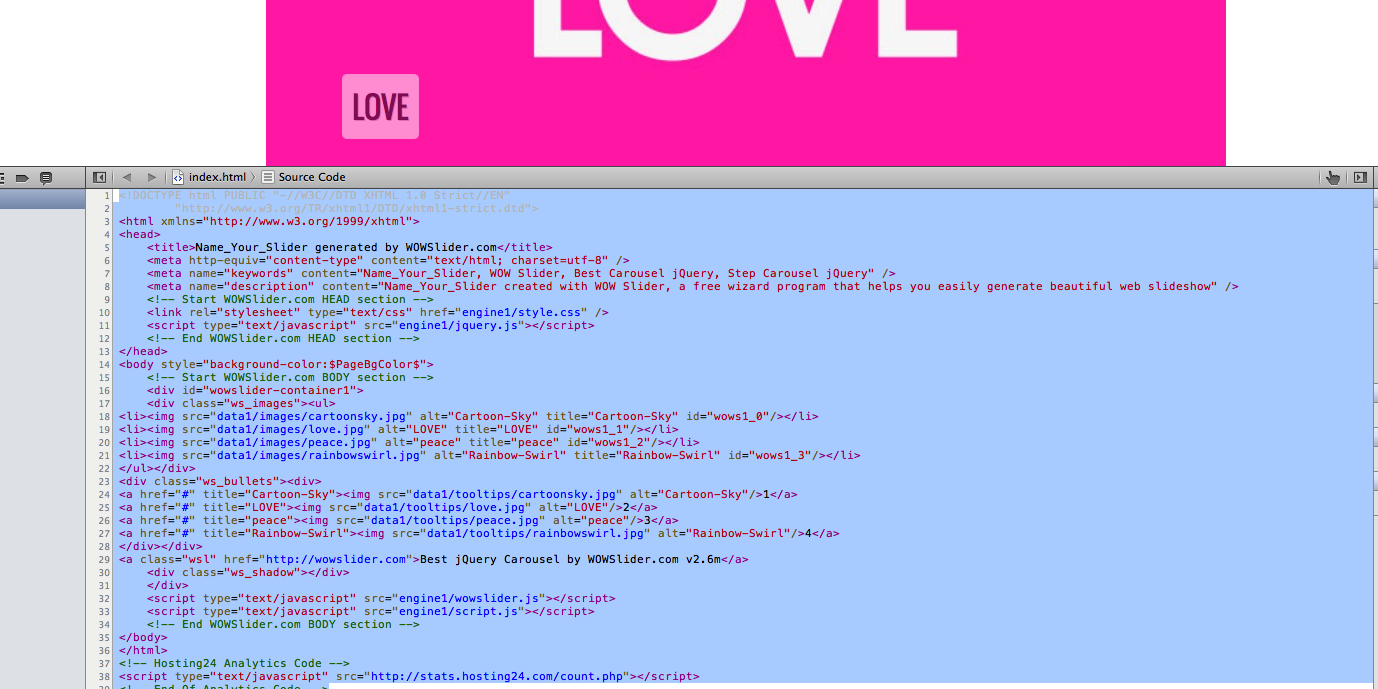
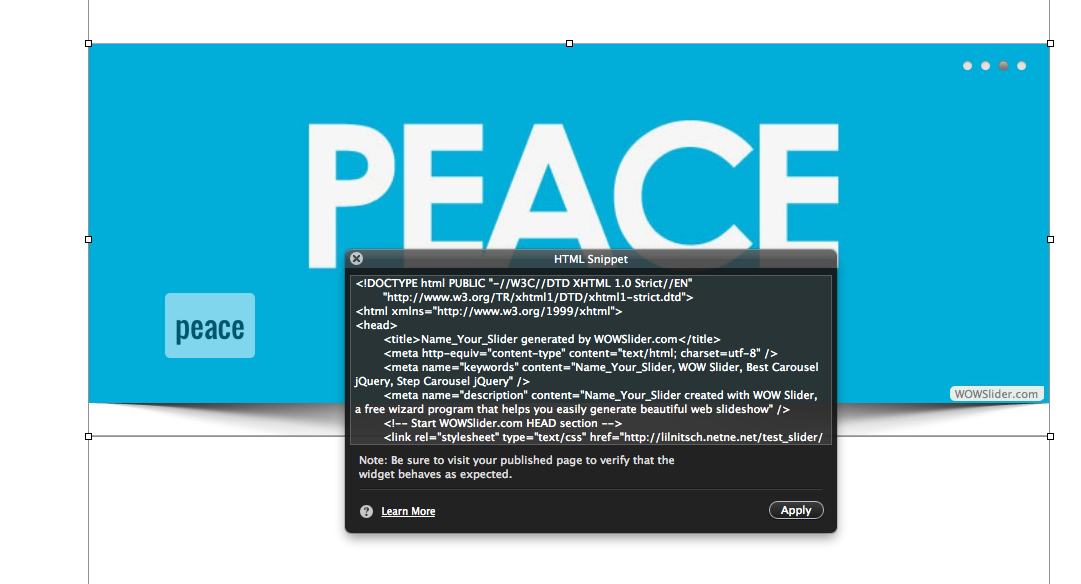
Here is my Sample Code with what I changed to make it work in iWeb in Blue (
http://lilnitsch.netne.net/test_slider/) this will need to be changed to your web address
10.) In iWeb add a HTML Snippet & paste your code & click apply. And now your WowSlider should be working in iWeb